Right here is the first kinda prep video for our Motion capture project. This is group work, me being the performer on a really bad hair day in my bike trouser's. Still it gave us a good idea to what we wanted to do.
My attempt at storyboard
Here is a storyboard I drew as well no times added to it yet as this is just a draft for now. Picture quality is not great but I will digitalise this eventually and update.

Prep Video 2
Another Video we took after refining some details/errors
Final Story board
Final Story boards re-drawn by another member of the group


First Model for our scene
Below is a simple Model of a tree I created to export from 3ds Max and into Motion Builder! Not sure exactly how to do this at this point but will be researching into this shortly
Model was created using a basic cylinder for the main part of the tree and then to make the branches I simply created a line (wavy). Once I was happy with the line I selected a polygon from the main part of the tree and selected extrude along line from the options menu. At this point I cannot be too sure about scale though as I have no idea the size of the surfer dude will be in motion builder, but from what I have seen I should be able to fix this very quickly.

Second Model for our Scene
Next I created a Axe in 3ds Max using cylinders and squares. These were converted to editable poly's and using a reference image from google images I produced the following

Again as you can see a very simple model as I did not want anything too complicated for the scene as this would be the first time myself and the group were to do motion capture and did not want to complicate things
Final Preparation for Motion Capture
Before the capture we needed to finalise the Moves and Shot list. These would assist us on the day of capture with what we wanted to achieve.
Move/Motion List


Questions Of Motion List
These were a basic quick check to make sure the Motion List was correct

Shot List


As you can the shot list is very important. It contains the file names which the software technician would need to name all files correctly during the capture. Also information for the director and choreographer to make sure the performer is performing the moves to the times on the shot list and the correct moves are performed.
Capture Day
So now is the day of capture. The group is fully prepared and we have 4 hours of capture time in the capture studio using the Vicon system
Capture Video's
Some video's for my future reference and your amusement ;)
Some Practice
Skipping
Stretching
Chopping 1
Chopping 2
Axe Stuck with Foot Pull 1
Axe with Foot Pull 2
Motion Builder
Our next task was to each take a scene that we captured, and using Motion Builder we were to clean up the data. Cleaning the data meant sorting out any occlusion problems we had and any data that moved away from the motion data points.
What the Optical Data Looks Like
So After lot's of research I found that the easiest way to get my Tree and Axe model into our capture scene was to use the FBX plugin from Autodesk. This made it really simple as I only needed to click a few options and the models were converted to a FBX format and ready to import into Motion builder
Data
So once each member had cleaned up the scenes and had baked the optical data to the surfer characters rig it was time for me to put all the data together in one flowing scene.
This was simply done in Motion Builder using the story mode. Dragging and dropping each scene into the time-line and then matching up a certain point from beginning to end of each scene. Then using options such as frame start/end and ghosting to check the scenes matched properly.
Camera/Rendering
The scene once all put together was then handed over by me to the director who added camera's and rendered the scene
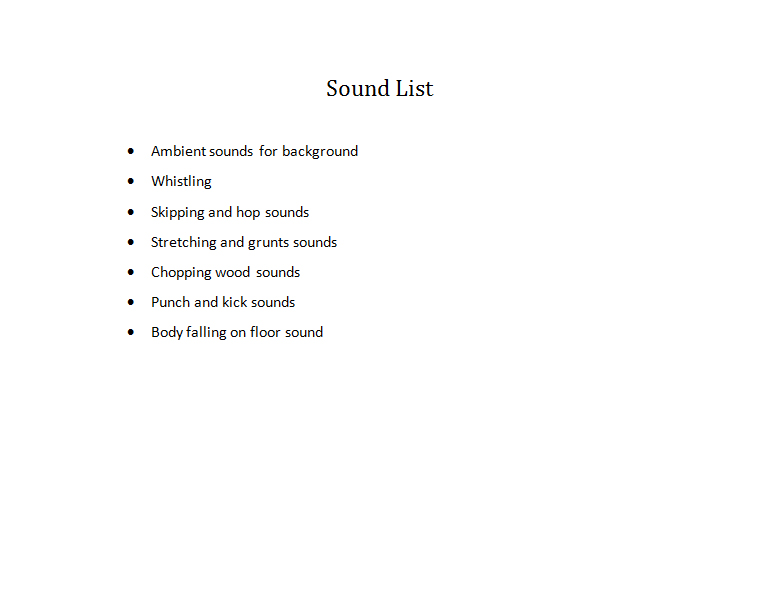
Sound
The scene was then passed to the sound editor who added the sounds to the scene
More Documentation
Here is some more documentation that was required


Final Video
There is some more bits and bobs to be added yet but until I can find these from other group members I will finish up here and add the final video for you guys/gals to see.....enjoy
No comments:
Post a Comment